3D printed Yoke and Throttle
|
Some time ago, I modified a CH yoke to make it better. But now with time, kids grow, space gets tighter, so my cockpit ended up in the basement. I can't fly there because I would need to have the PC there, which on the other hand I need on my room.
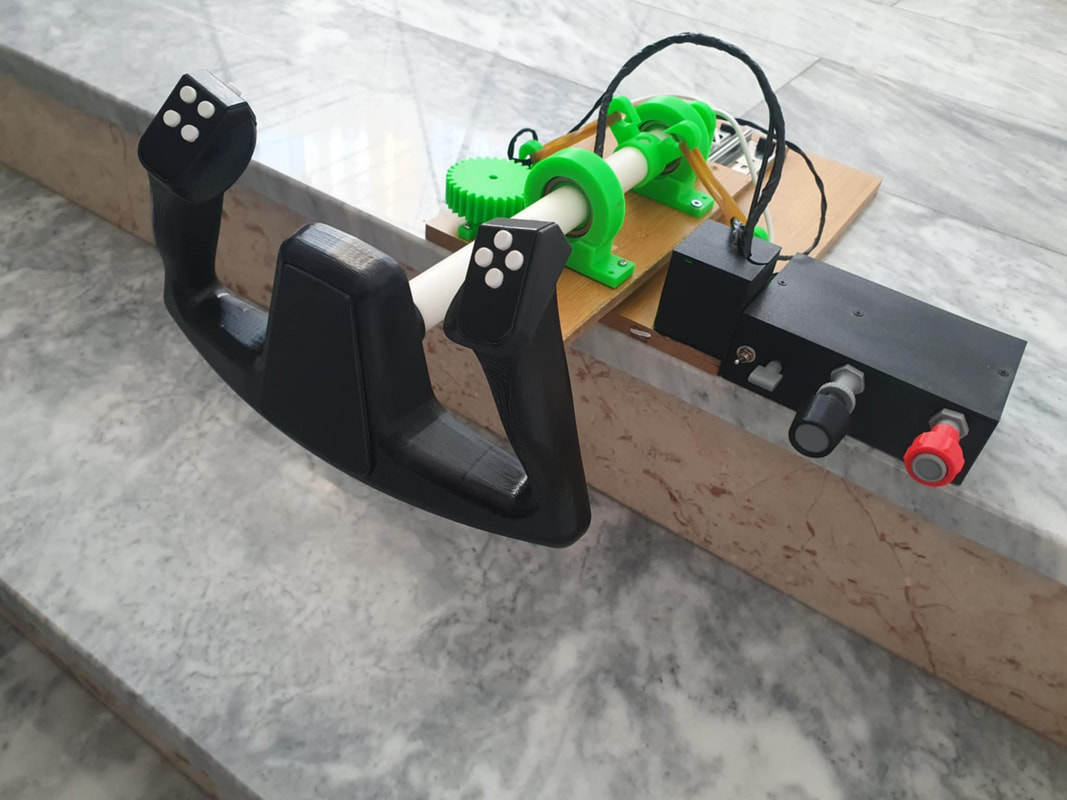
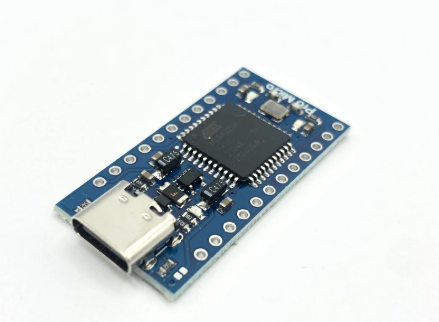
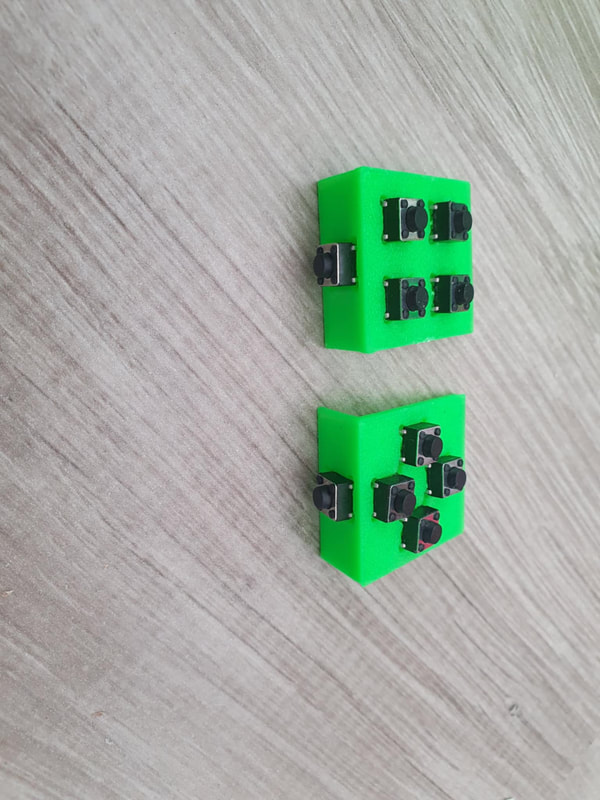
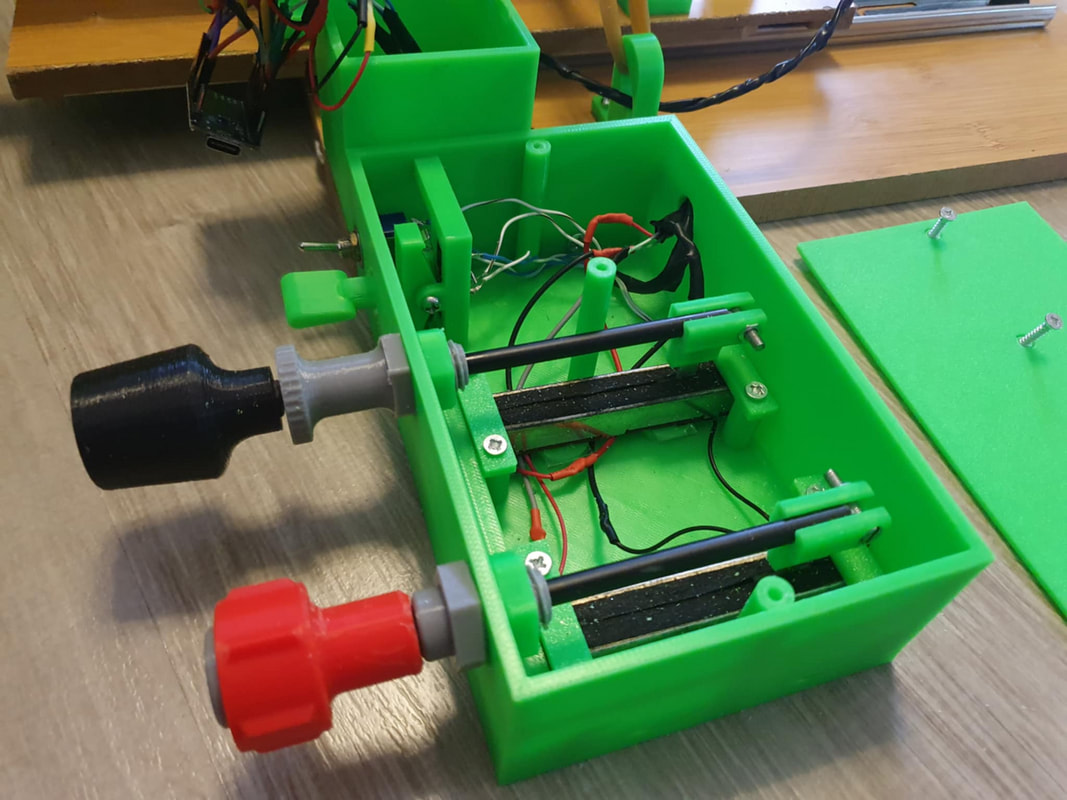
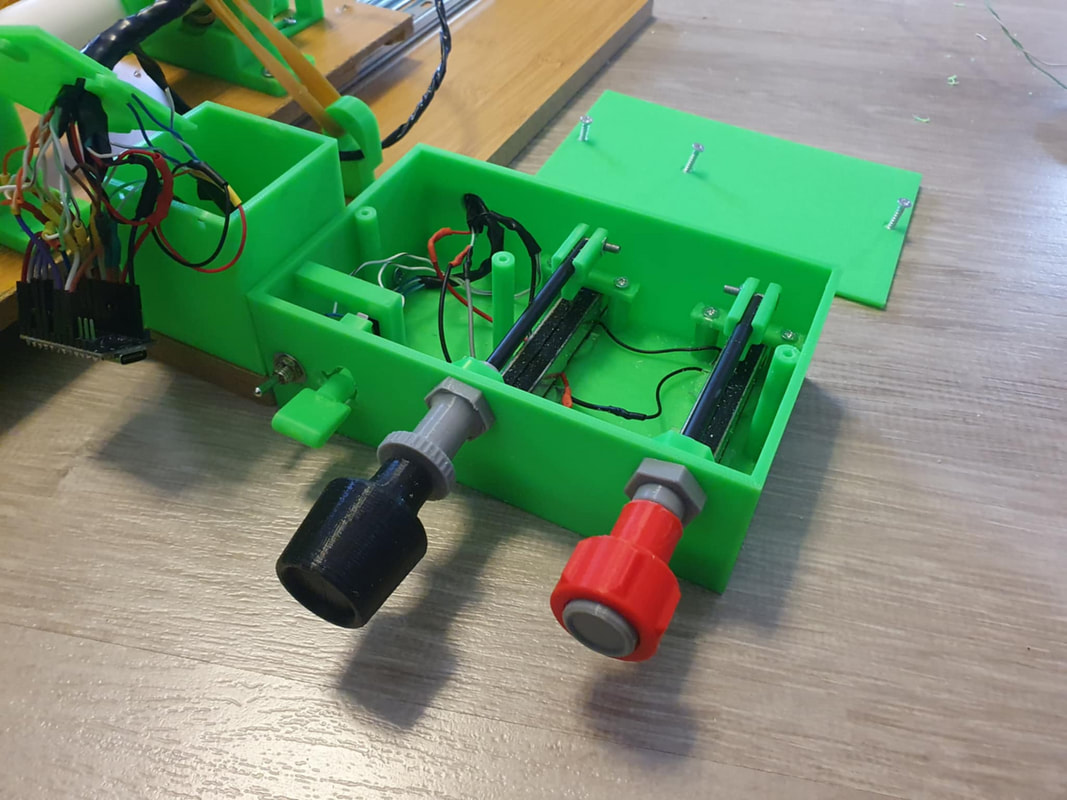
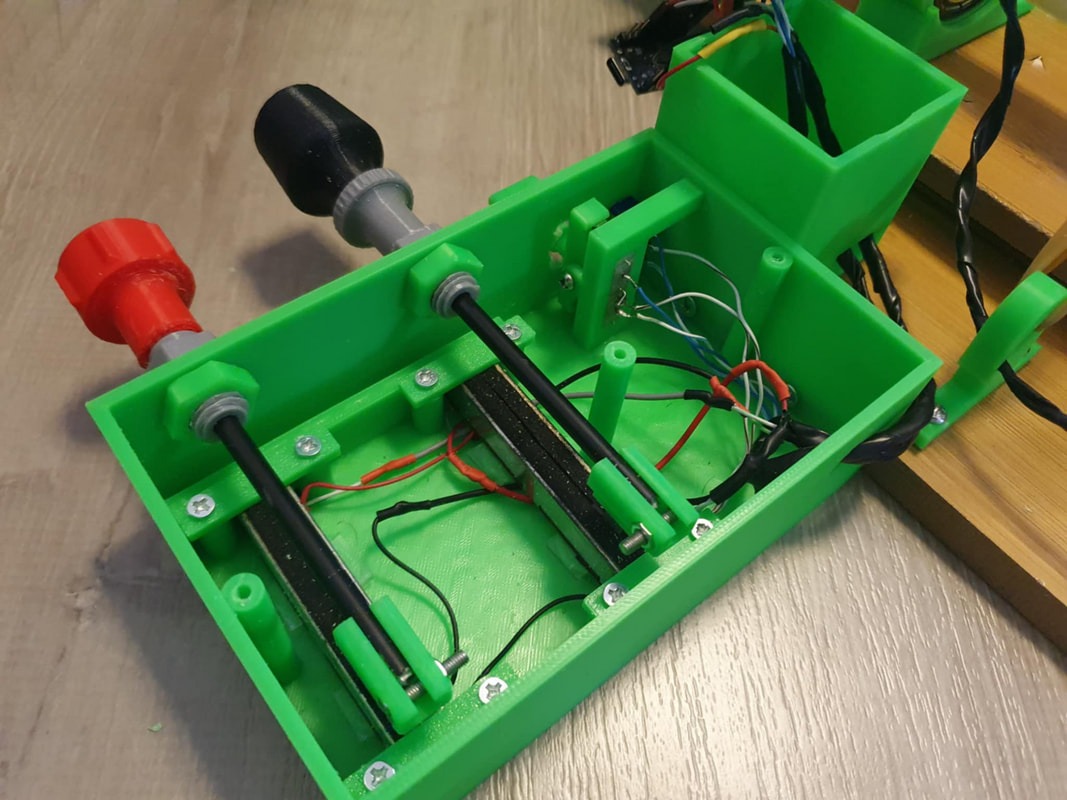
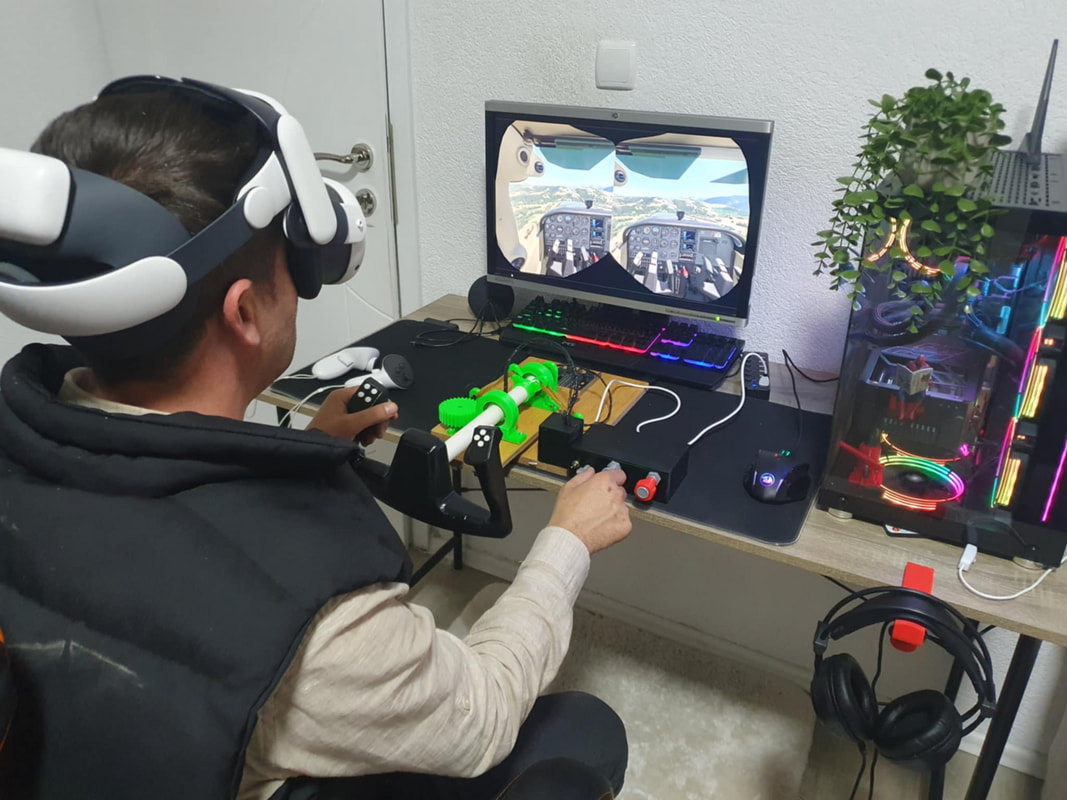
So I bought myself a Meta Quest 3 headset, and to be honest I don't regret it. Using it with the FS2024 takes flying to a whole new level, the only thing missing is a motion chair or platform but who knows in the future ;). While using the Quest, I wanted to add more realism, which made me make another yoke together with throttle and mixture, as well as 1 switch for the landing gear/parking brake and two switches for the flaps. This way I would have all the basic controls to fly the Cessna (or other aircrafts as well). I printed the yoke in gree, the reason is simply because I had plenty of green ABS filament, and when using with the quest, the color won't matter anyway, but later I painted it in black just for the looks of it. This makes things even better now that I just bought a Bambu Lab P1S Combo, which is a fantastic 3D printer. So the yoke should: - Be almost all 3D printed (except for the electronics and sliding mechanism) - Use only 1 Arduino Pro micro - Have 14 buttons (10 on the yoke and 2 for the parking brake/ landing gear and 2 for flaps) - 5 axis (aileron, elevator, throttle, mixture and rudder to be added later) - have throttle, mixture, landing gear and flaps added to the side - be able to add rudder pedals later |
|
|
As for the non 3D printed parts, you can buy them locally or order them from internet, I have included some links which are not affiliated, so use whatever you find the cheapest.
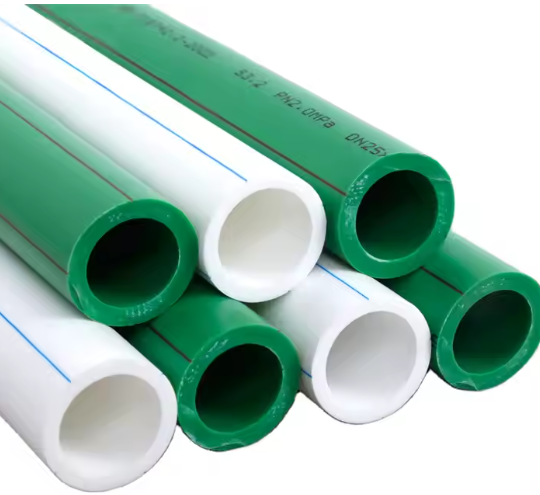
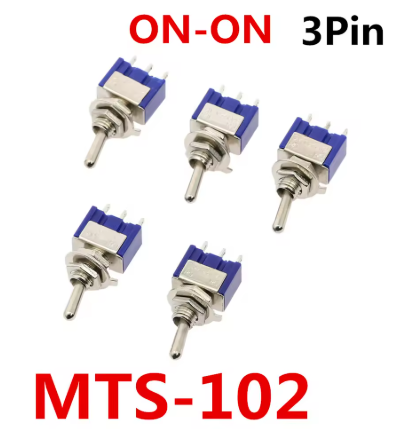
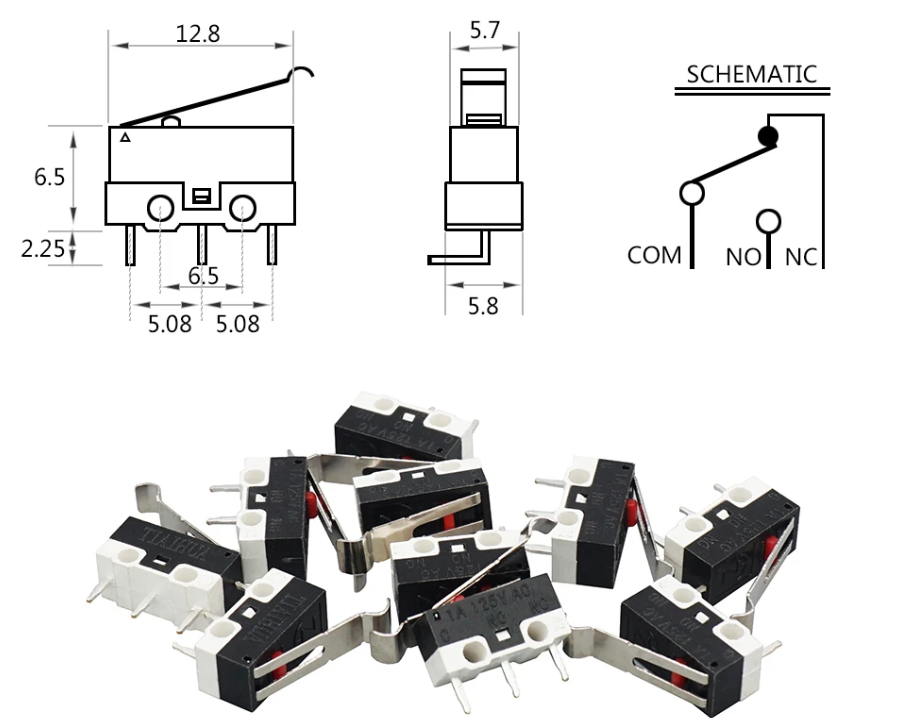
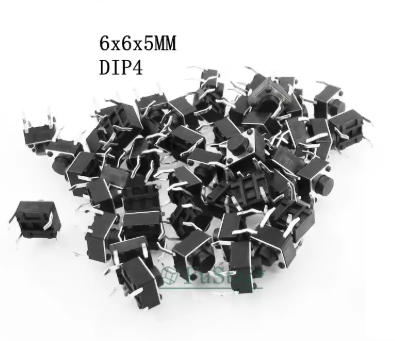
Besides the 3D Printed parts, you will need:
|
|
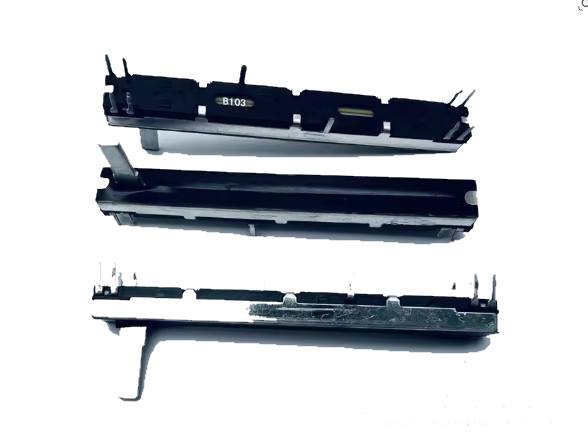
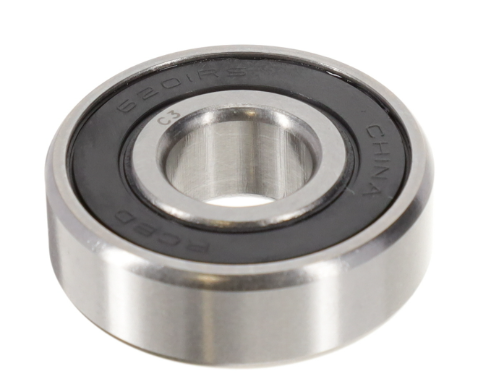
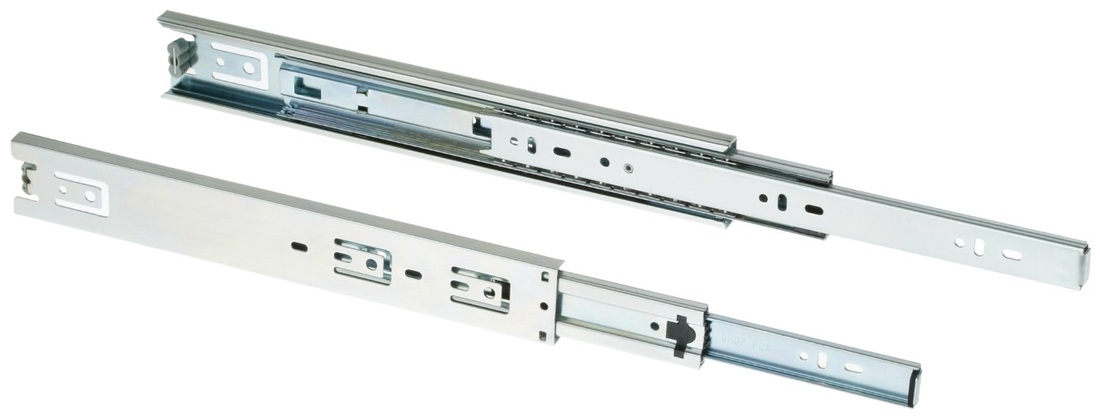
|
|
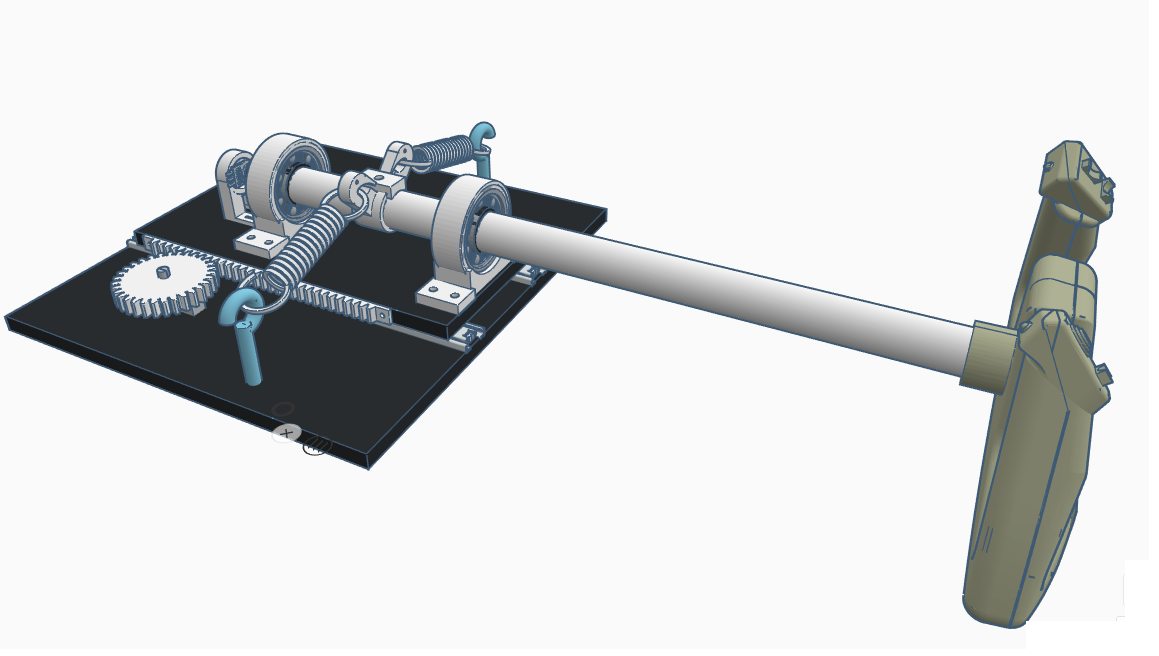
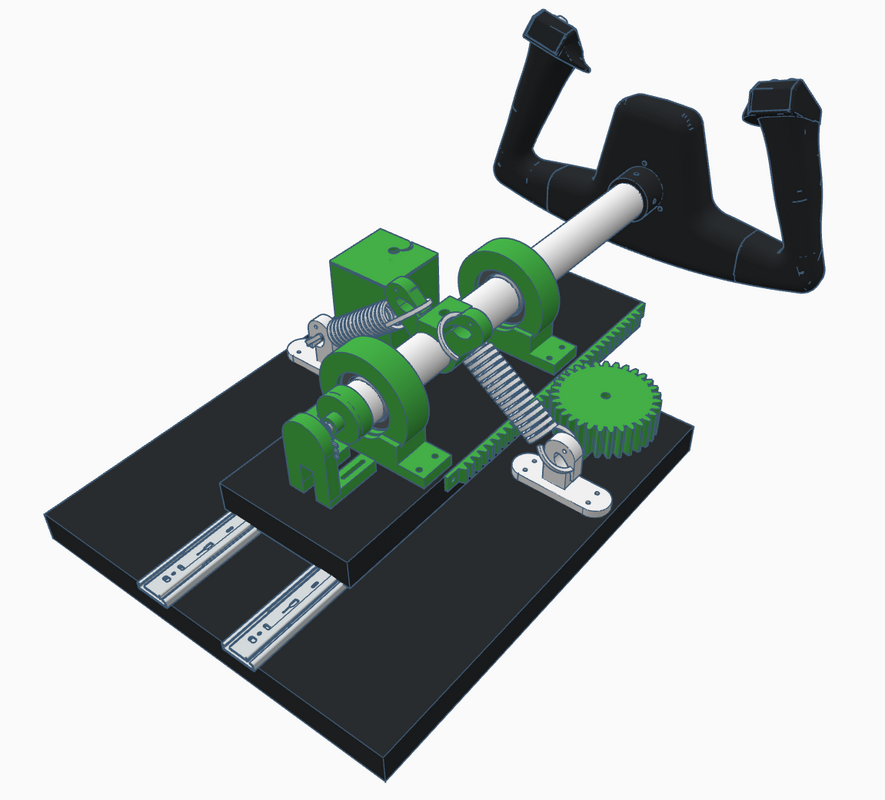
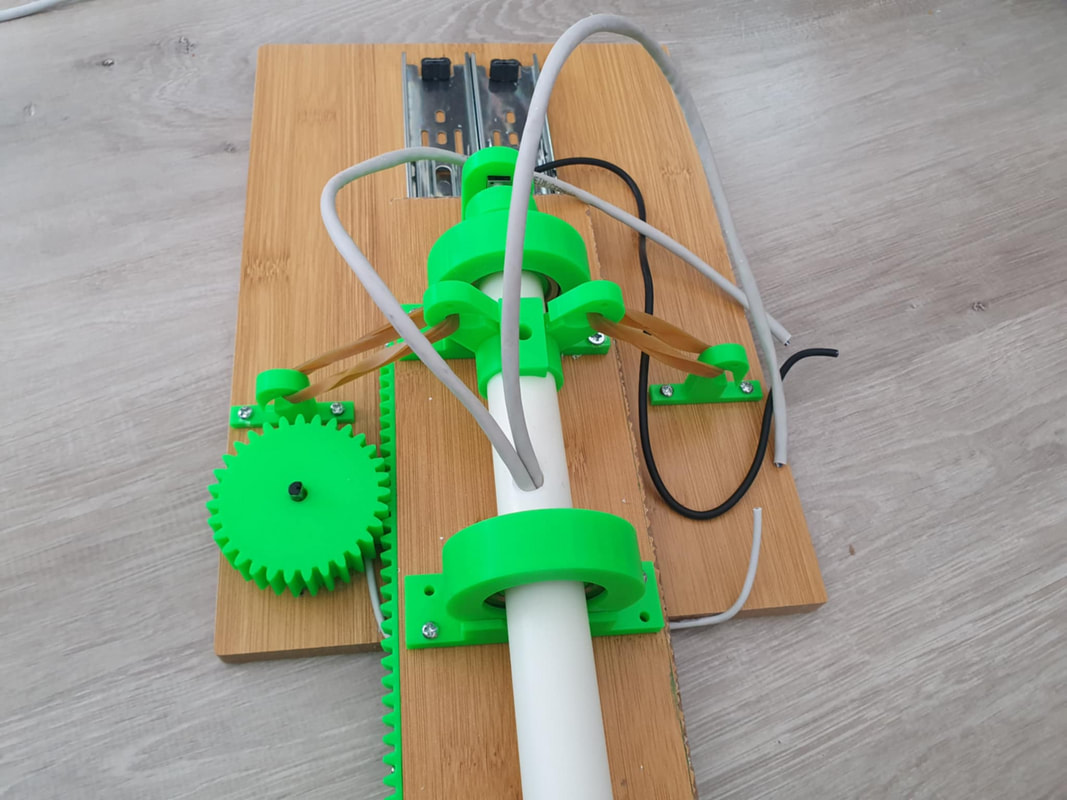
In the picture above you see the yoke using springs, i have replaced them with rubber-band because they were making to much noise.
Note:
Depending on your 3D Printer, filament, location, room temperature etc., you may get different results. I those cases, if some parts are loose, use a bit of tape or eventually glue.
Depending on your 3D Printer, filament, location, room temperature etc., you may get different results. I those cases, if some parts are loose, use a bit of tape or eventually glue.
|
|
|
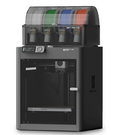
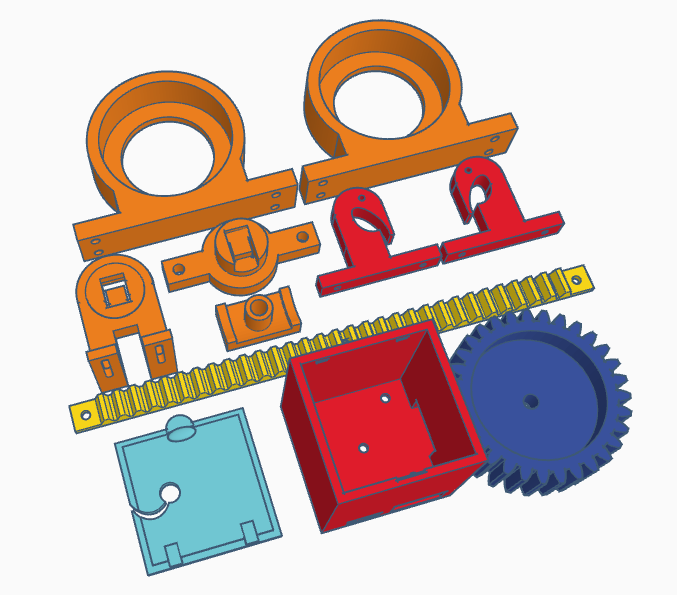
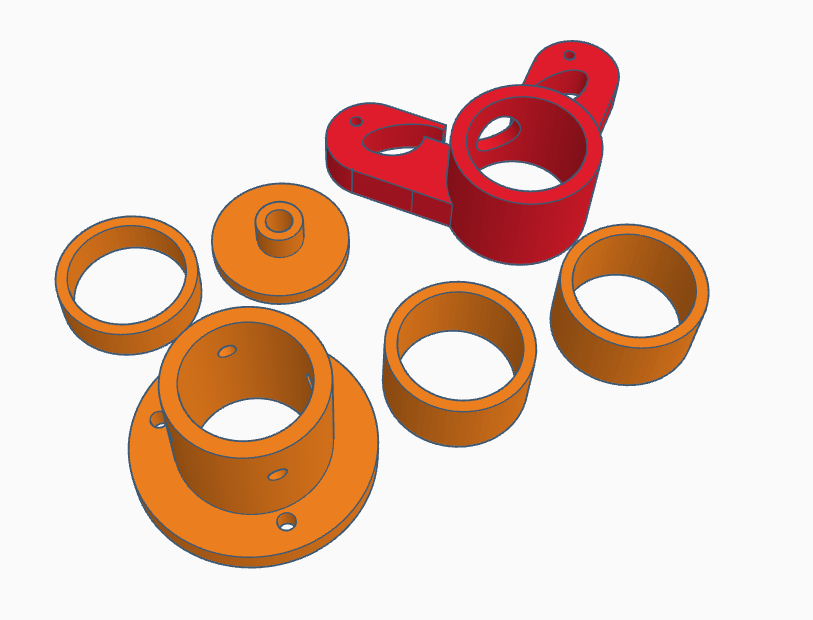
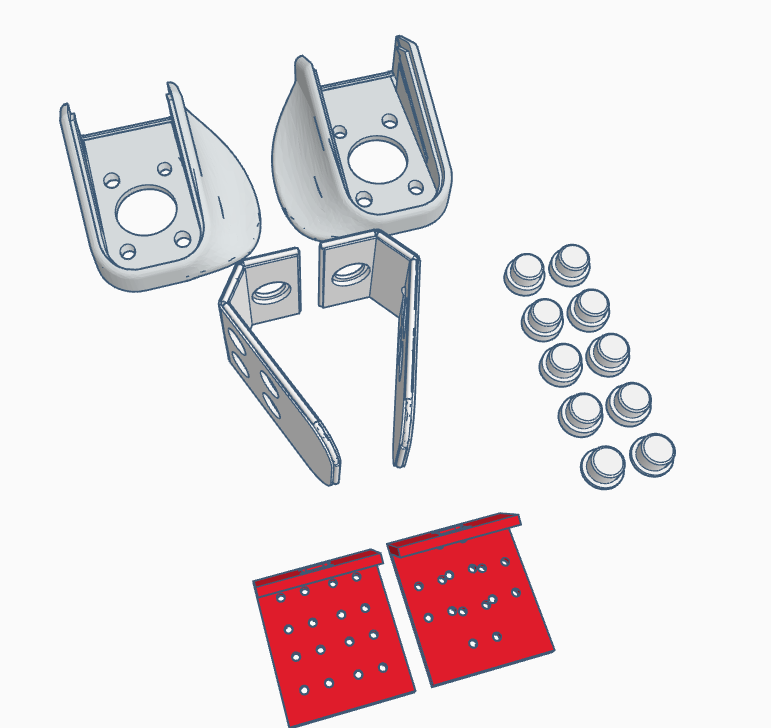
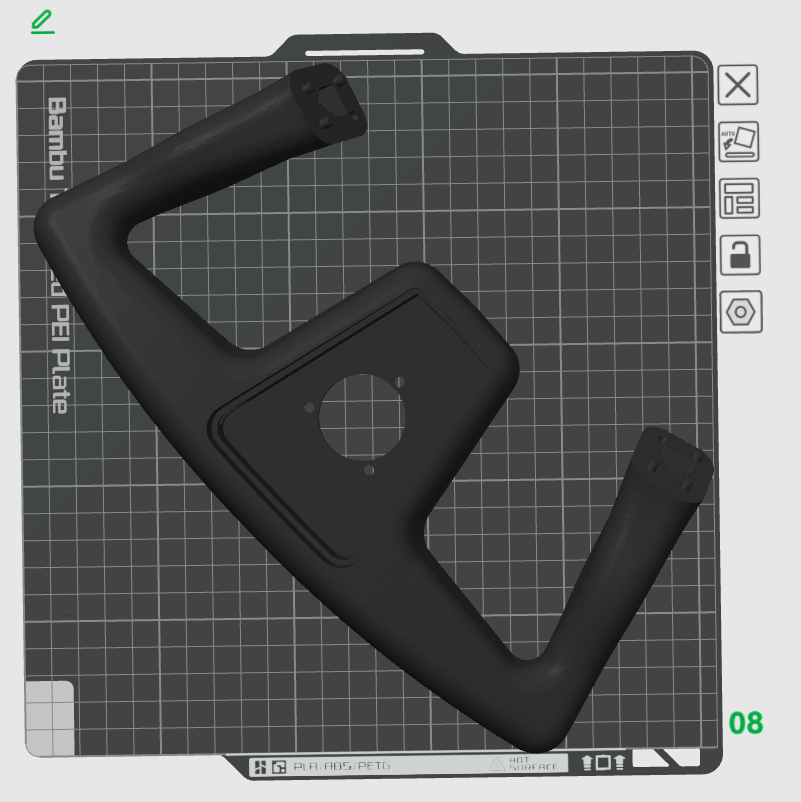
To be able to print the yoke, you need to have a printing area of 256mm by 256mm (Bambu Lab X, P Series).
|
|
|
|
|
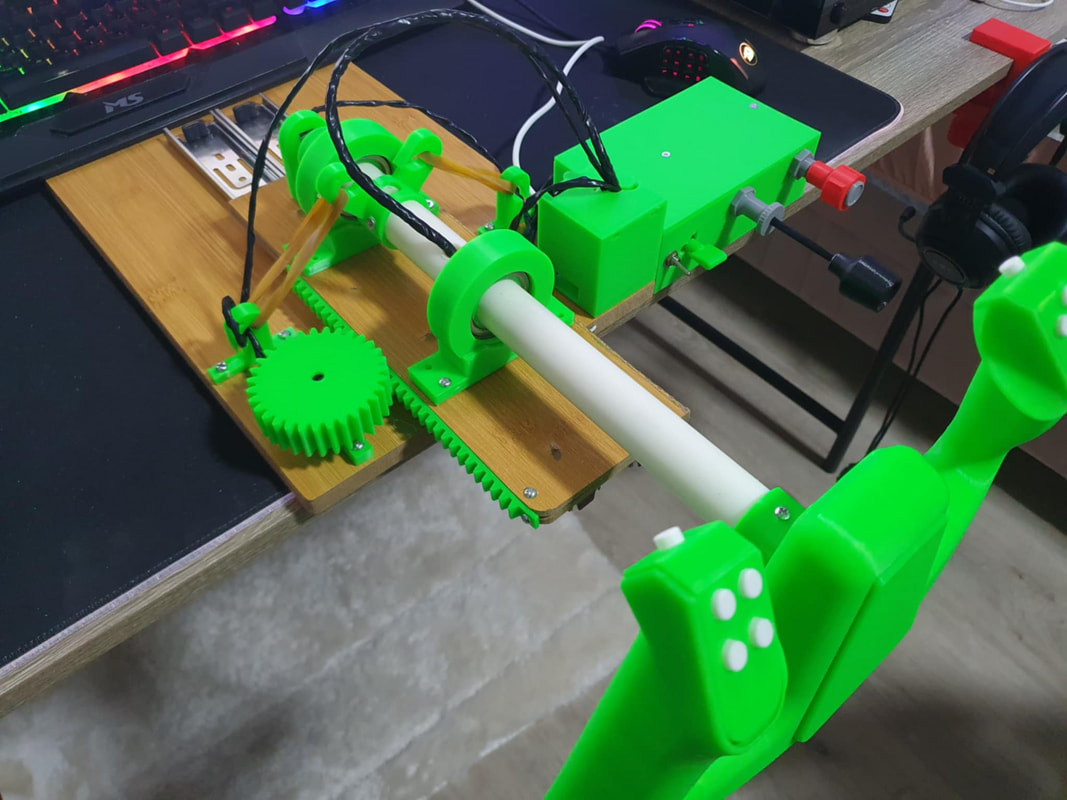
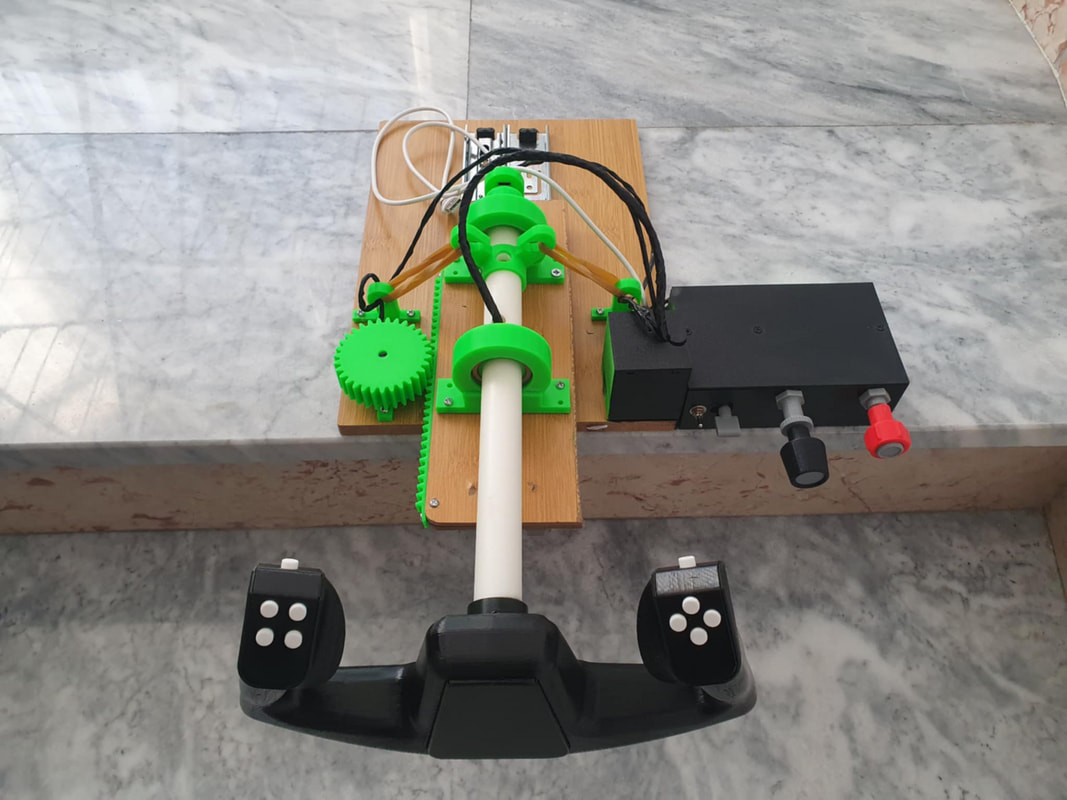
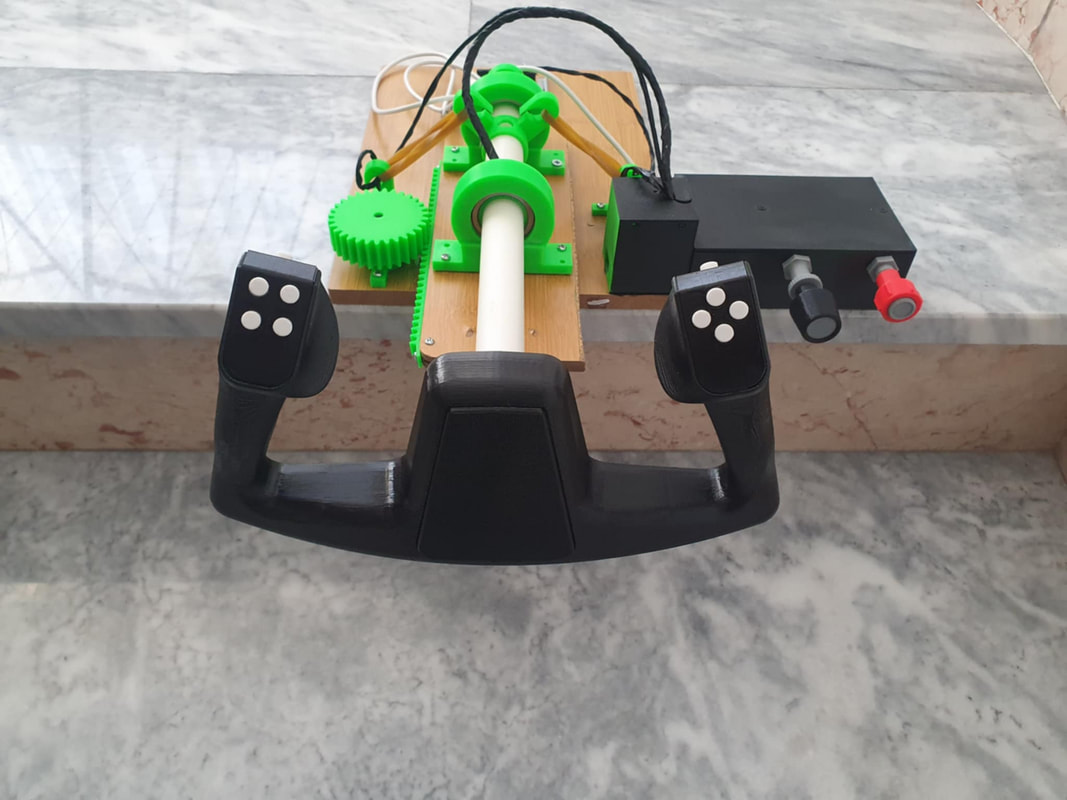
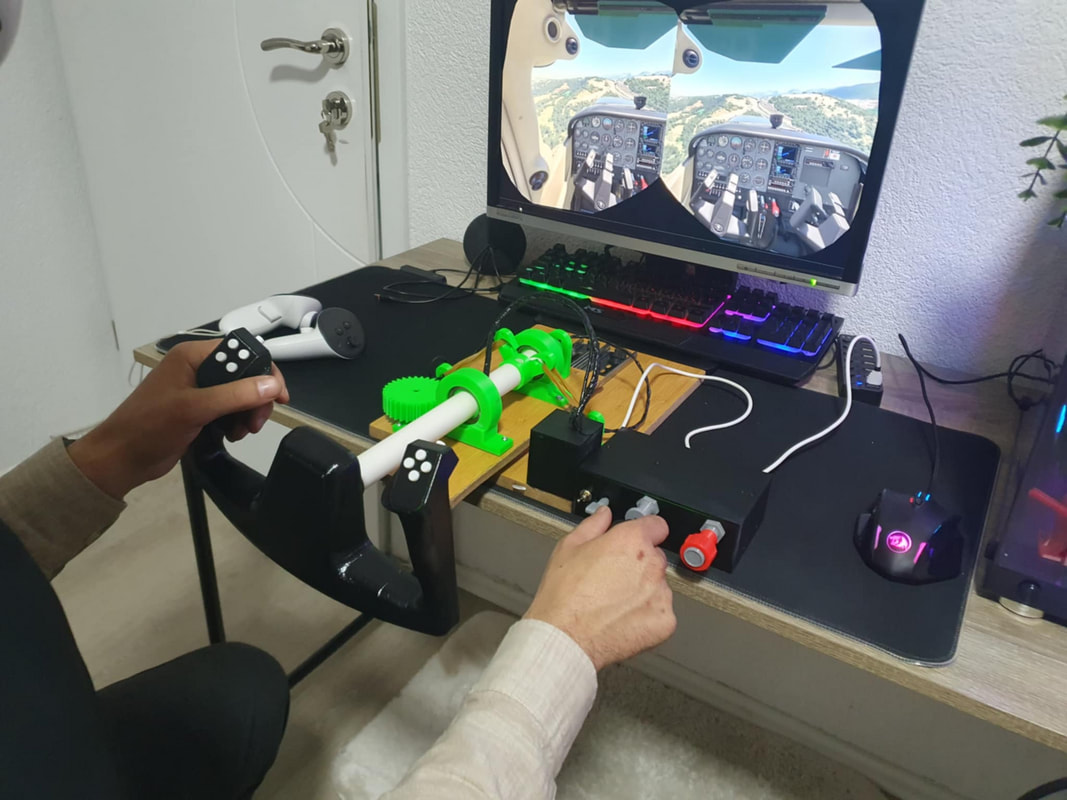
I painted the yoke and the box in black, here are the results.
|
|
|
|
|
And here is a video of the yoke in action:
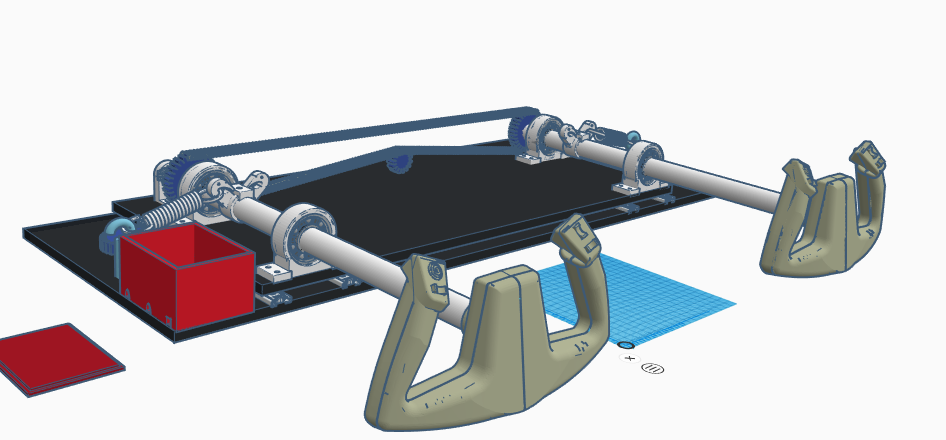
I have also been thinking of making a dual Yoke with the same system.
2015, Copyright AlbEAGLE