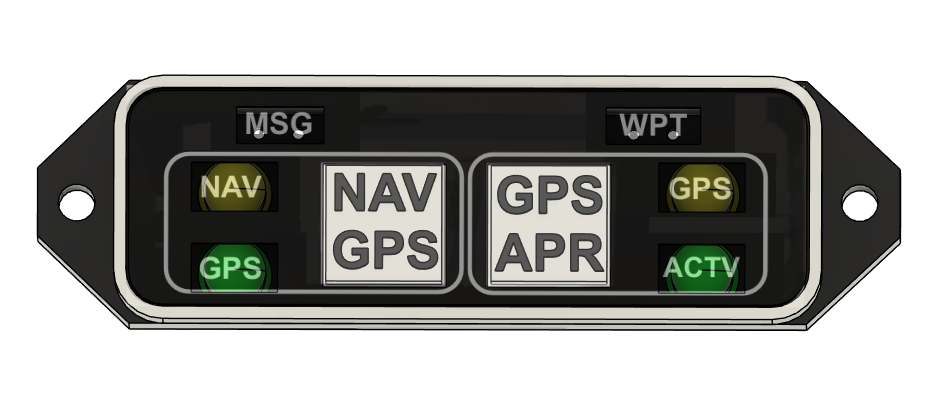
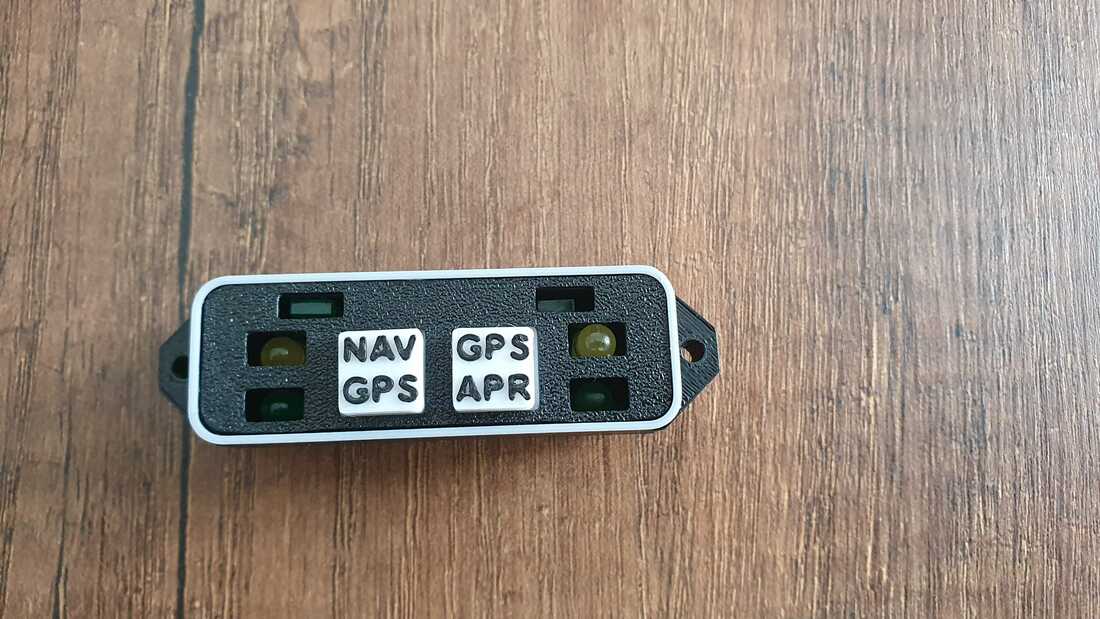
3D Printed NAV/GPS Annunciator
What you need
|
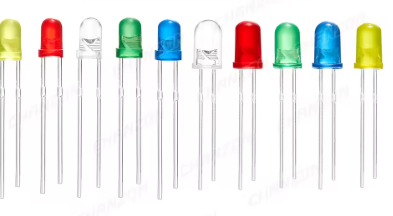
- 2 x 5mm yellow LEDs - Link to 100pcs 5 colors (Aliexpress)
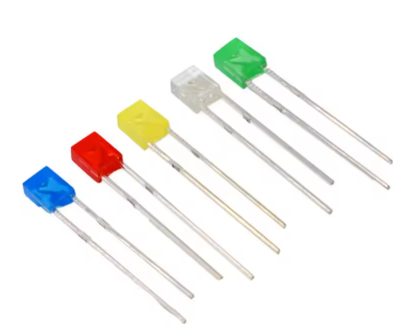
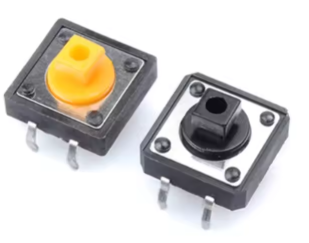
- 2 x 5mm green LEDs - Link to 100pcs 5 colors (Aliexpress) - 2 x 3mmx5mm rectangular yellow LEDs - Link to 100pcs 5 colors (Aliexpress) - 2 x 12mmx12mm tactile buttons - Link to 50 pcs (Aliexpress) (I have no affiliation to the links provided, just what I found on aliexpress. Always look for better prices). |
|
Dimensions
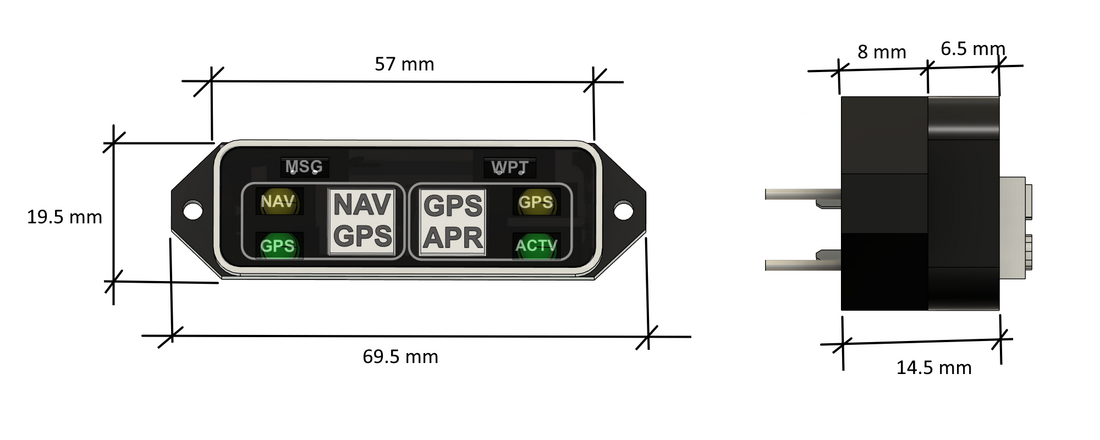
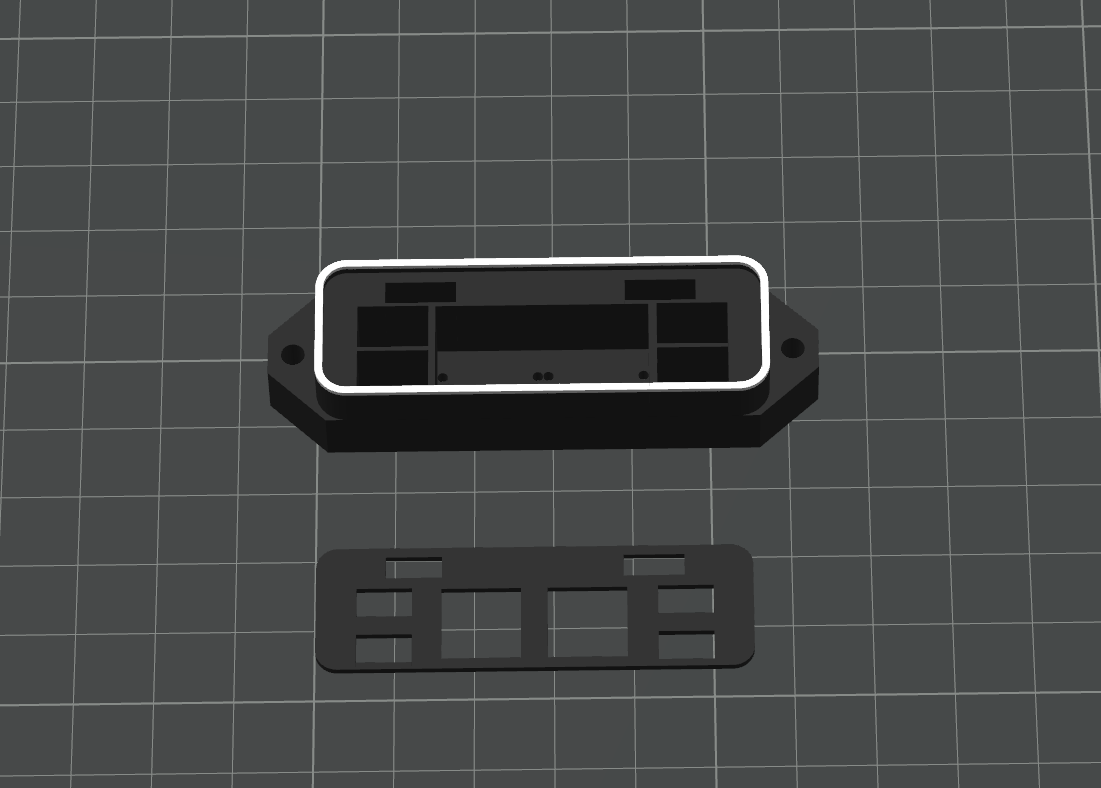
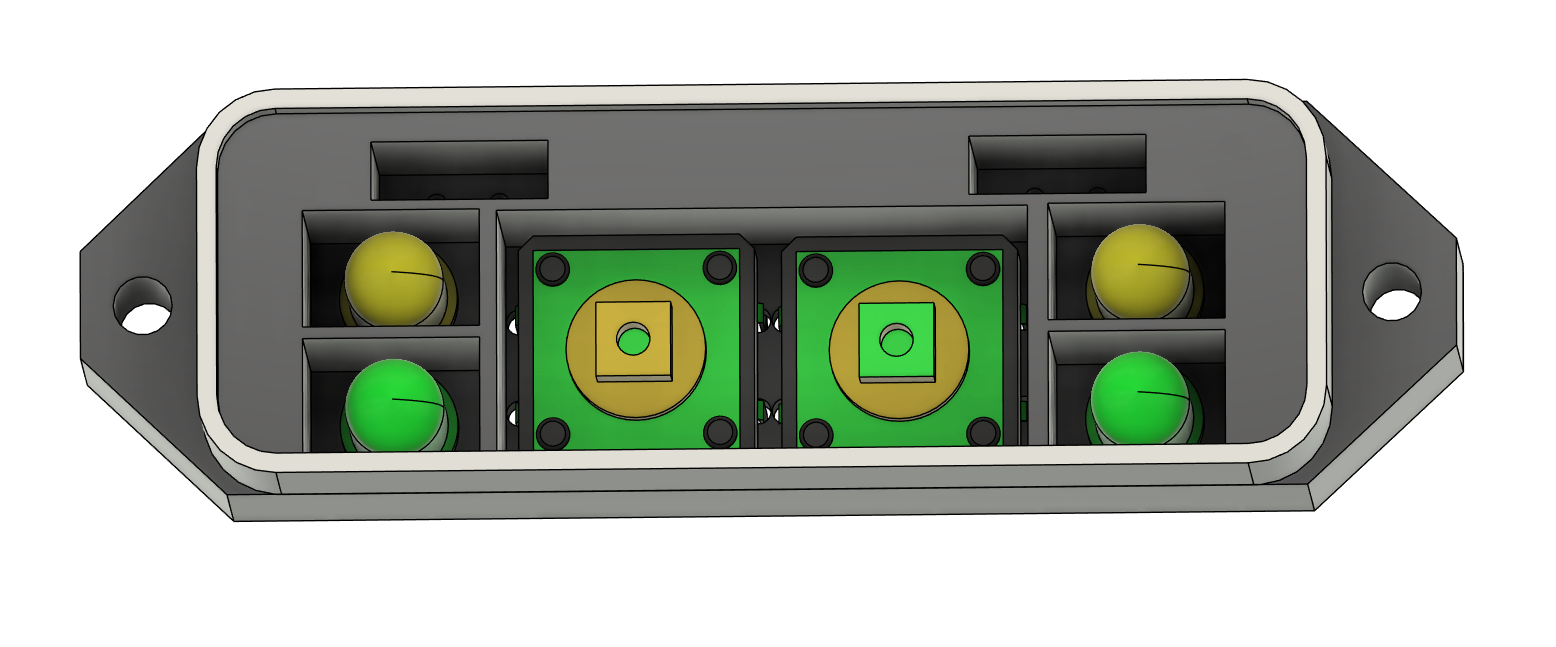
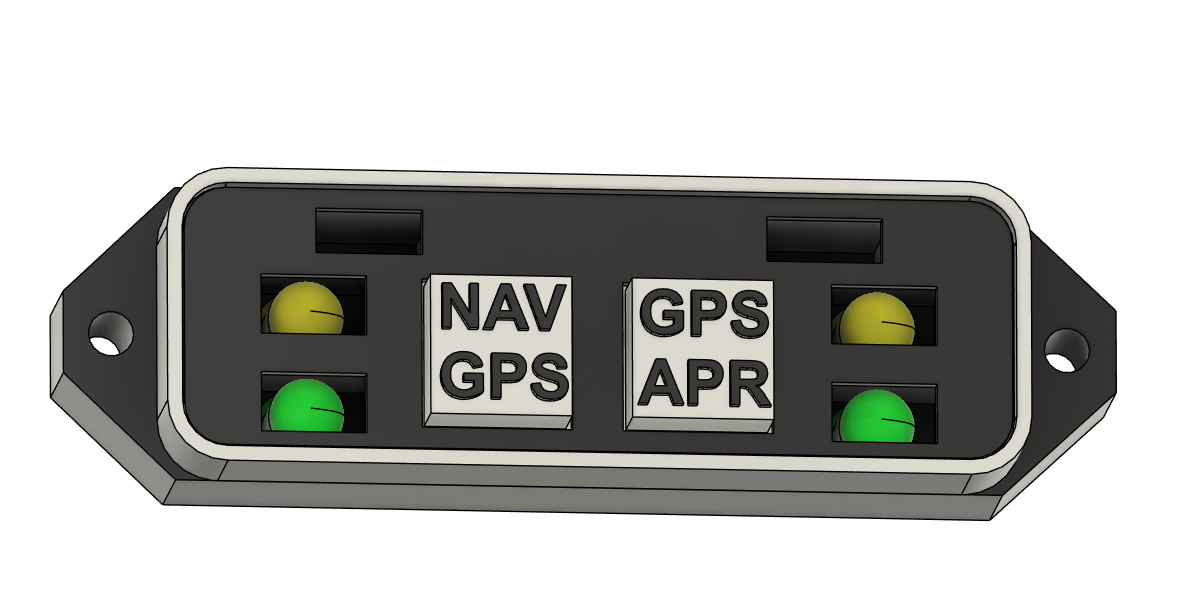
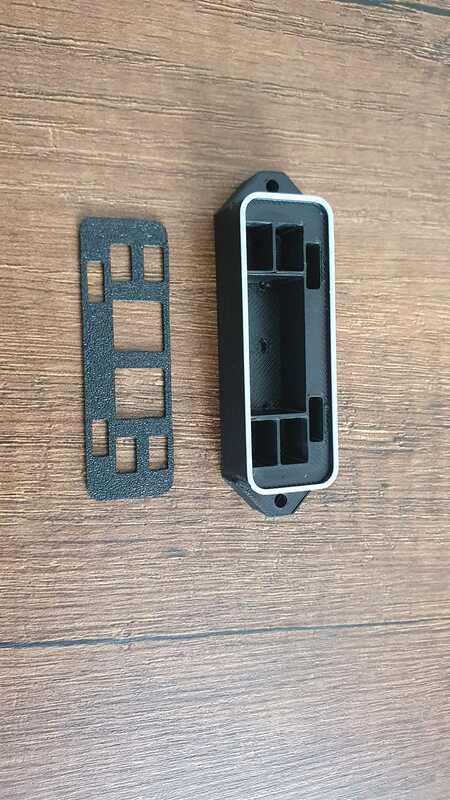
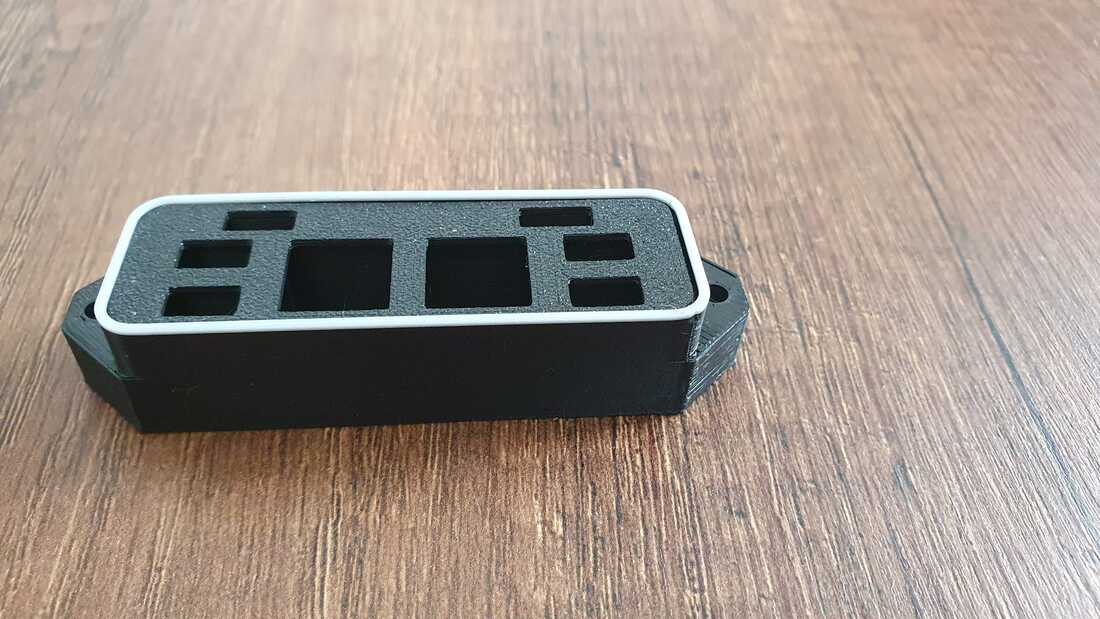
After 3d printing the shell, the cover and the buttons, you insert the LEDs and the switches to the corresponding places. You can use glue to hold them in place.
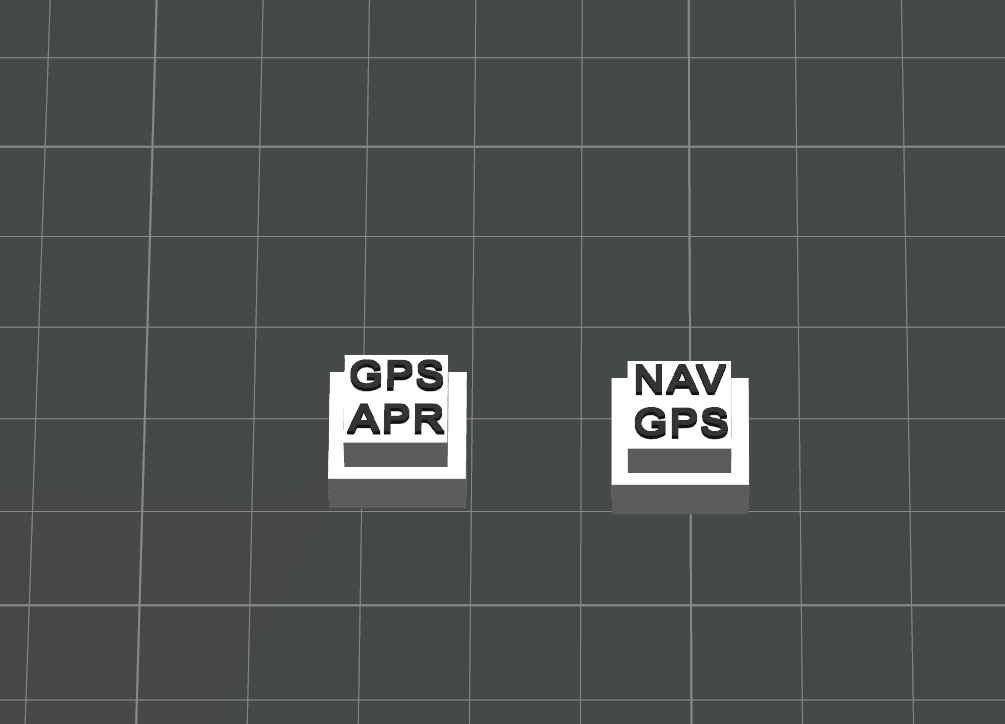
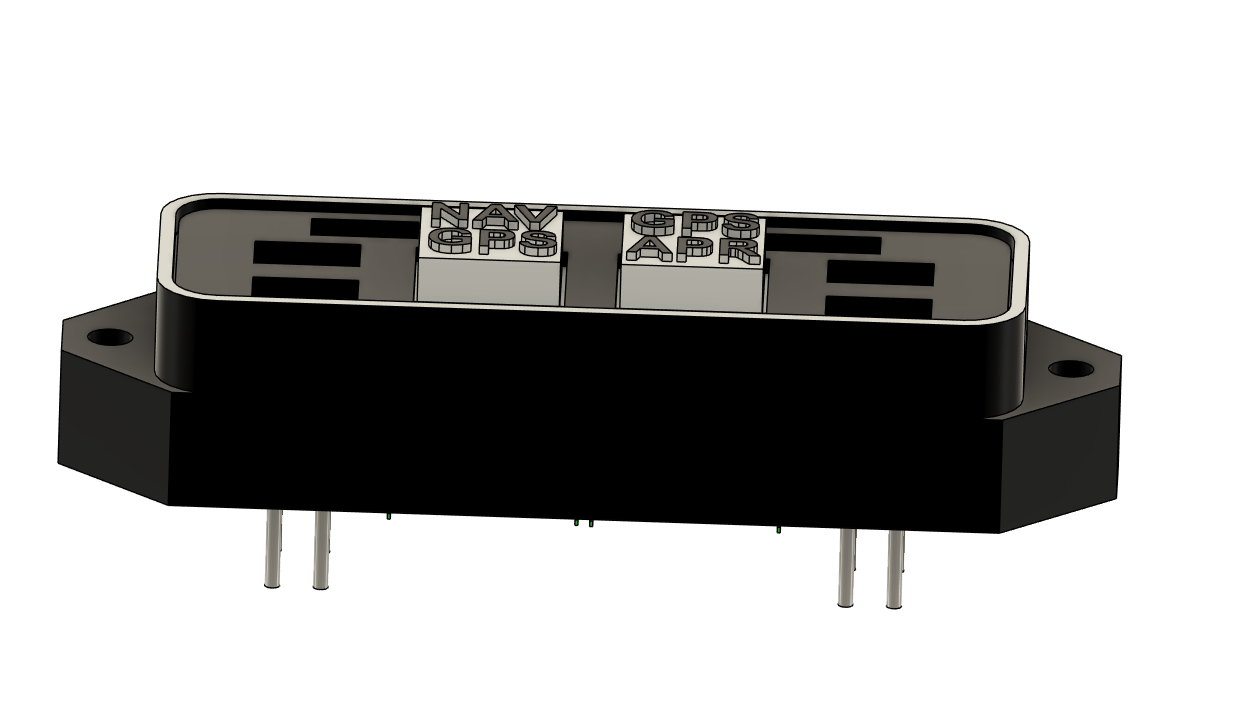
Then you insert the buttons and place the cover on top (here you need to use a bit of glue as well to hold the cover in place which at the same time will hold the buttons in place)
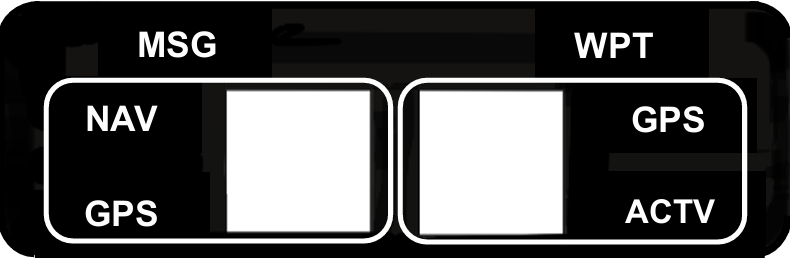
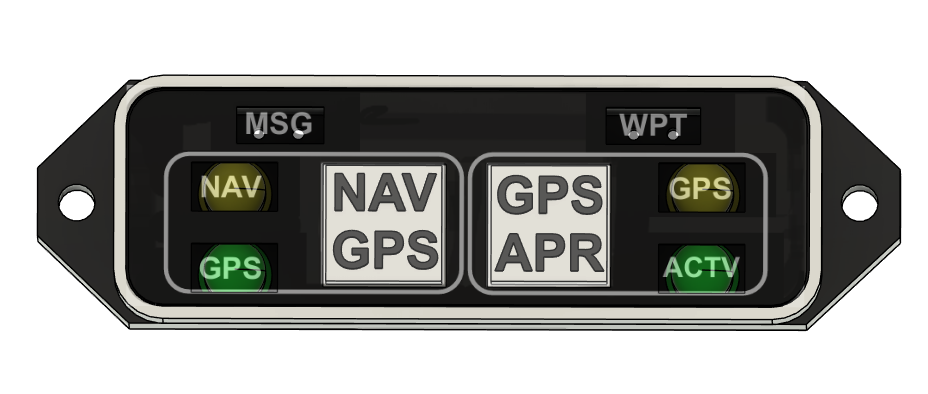
You need to print the provided faceplate on a normal printer. Before cutting, I suggest you use transparent tape on both sides, which makes it a lot stronger, doesn't wear quickly, it is easier to cut and you can apply glue on the back to glue it to the cover.
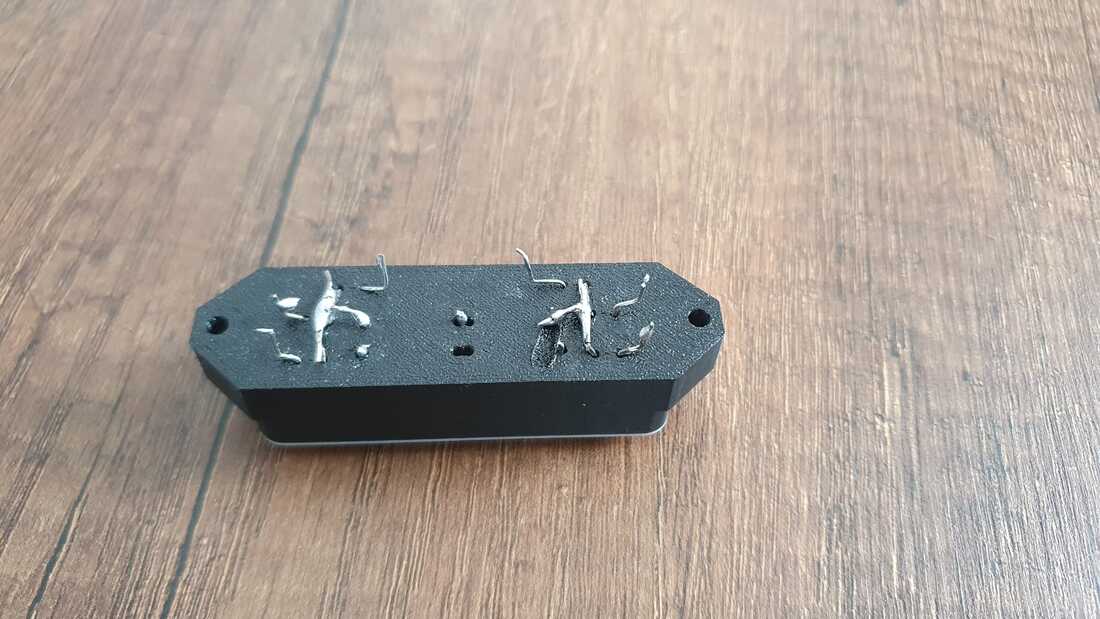
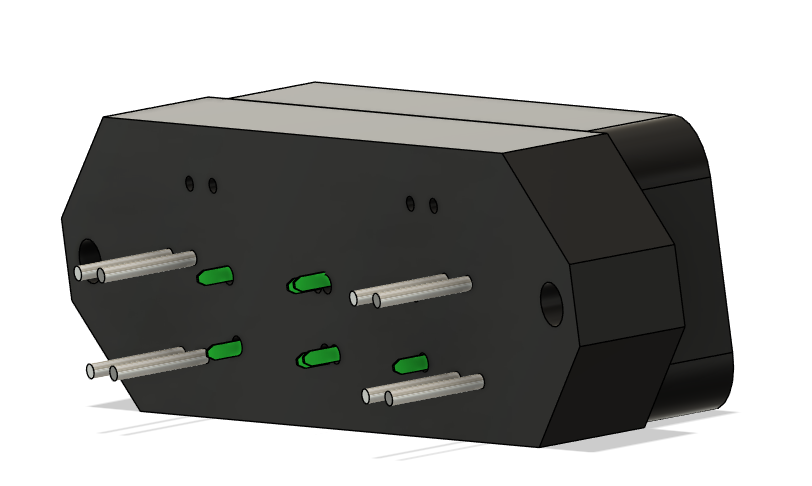
Finally you cutt the wires to your needs on the back and solder them. You can connect all the grounds in one place to be able to use only one wire for them. So there you will need two wires for the buttons, four wires for the annunciators and two wires for MSG and WPT lights which together with GND makes it 9 wires in total.
I have checked MSFS 2020 and 2024, and actually found that you can use NAV / GPS button and lights. The other two (GPS and ACTV) I couldn't find any events on mobiflight. If you have them, please share them with me. I could also not find the output for the test button, to be able to light all of them at once if the Test button is pressed. If you know this as well, please share it with me.
Then you insert the buttons and place the cover on top (here you need to use a bit of glue as well to hold the cover in place which at the same time will hold the buttons in place)
You need to print the provided faceplate on a normal printer. Before cutting, I suggest you use transparent tape on both sides, which makes it a lot stronger, doesn't wear quickly, it is easier to cut and you can apply glue on the back to glue it to the cover.
Finally you cutt the wires to your needs on the back and solder them. You can connect all the grounds in one place to be able to use only one wire for them. So there you will need two wires for the buttons, four wires for the annunciators and two wires for MSG and WPT lights which together with GND makes it 9 wires in total.
I have checked MSFS 2020 and 2024, and actually found that you can use NAV / GPS button and lights. The other two (GPS and ACTV) I couldn't find any events on mobiflight. If you have them, please share them with me. I could also not find the output for the test button, to be able to light all of them at once if the Test button is pressed. If you know this as well, please share it with me.
|
|
|
|
|
|
|
|
2015, Copyright AlbEAGLE