The main panel
(work in progress...)
|
In this page i will try to document my work on the Cessna 172 cockpit i'm building, which may help someone trying to build the same. Even if not the same, you might get ideas for some of the components. For this project I'm using as much DIY as i can to spend less money. Until now it has cost me around 80 Euro (not including some parts i already had). It is not finished yet but i can fly with it. The 22 inches monitor looks too small but i'm focusing on the cockpit for now. I have 2x22 inches monitors to put in front and later i'm planing to use one projector and 2x22 inches monitors on the sides. Things to be done: Radio Stack, GPS, Parking brake, Fuel selector and fuel cut off switch, Trim Wheel, Flaps handle, Covering the top with leather, Pedals - in progress, Projector setup. |
|
|
The idea of the project has begun pretty early but didn't start until now. This is a hobby so no rush ;). I had planed to build a motion platform as well but we will see, i might do it later. You can find the sketchup file in the 3d warehouse if you would like to download it and take a look at it. I had planed to build the motion platform from wiper motors but i might change that as well. Cessna 172 simulator sketchup in 3D Warehouse |
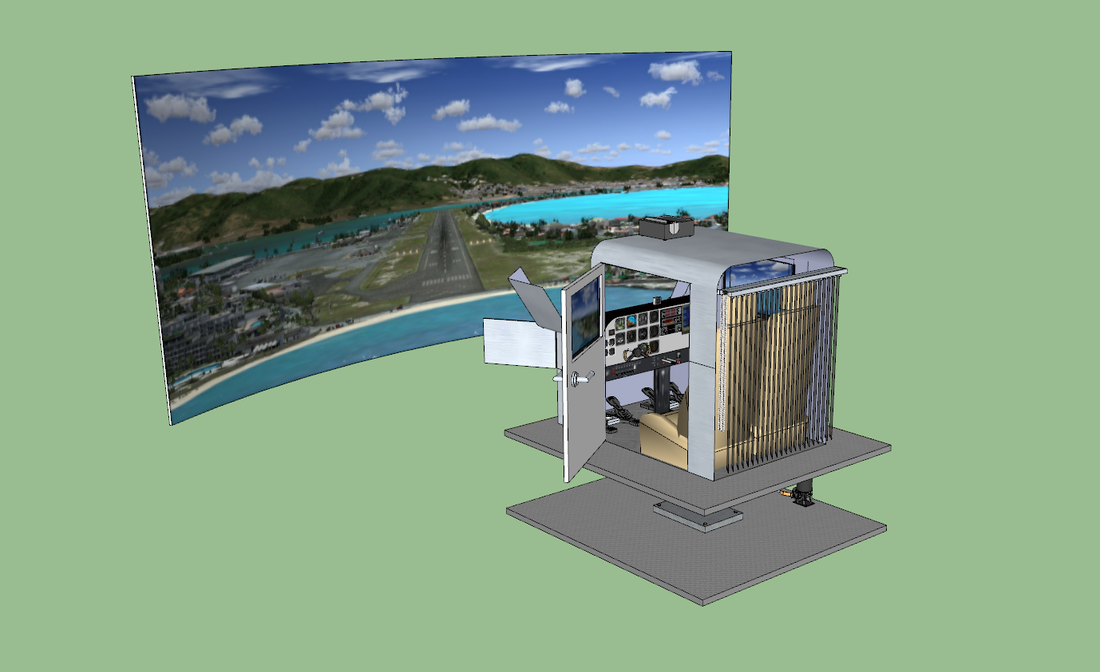
|
Dimensions
|
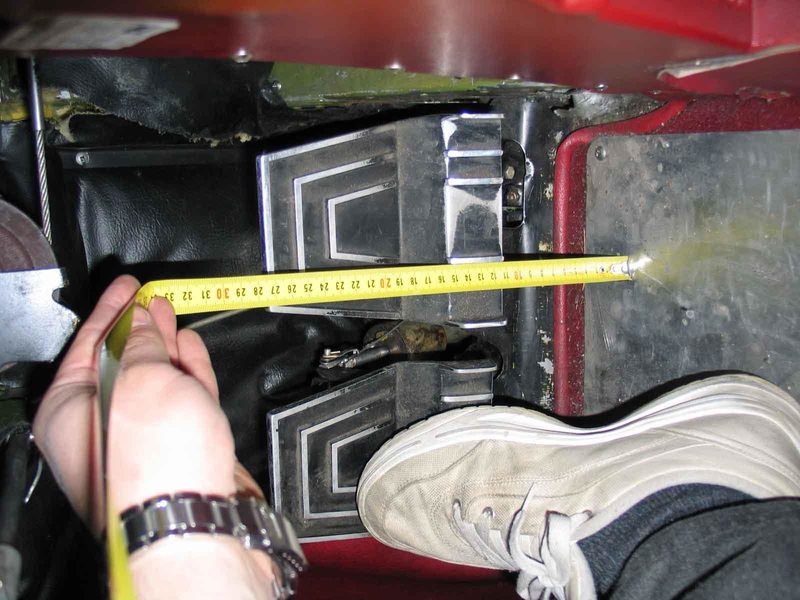
When i started the project i wanted to make a 1:1 cockpit, so i found some measurements that someone did (i don't know the author) and tried to apply those measurements. On the right side you have only 4 pictures but you can download all of them (44 pictures) below. Since i have never been in a Cessna Cockpit, this was a great help to get a sense of the size of the cockpit and components (the cabin is pretty small lol, only 1m). |
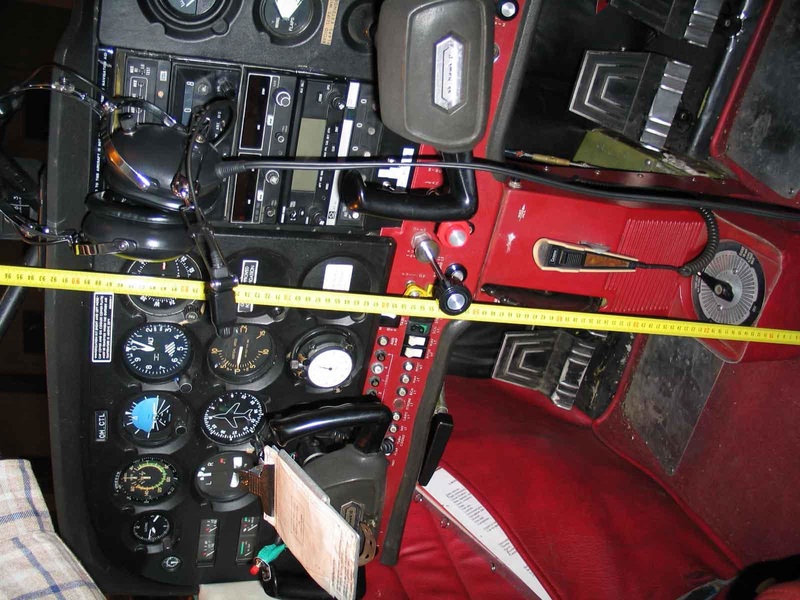
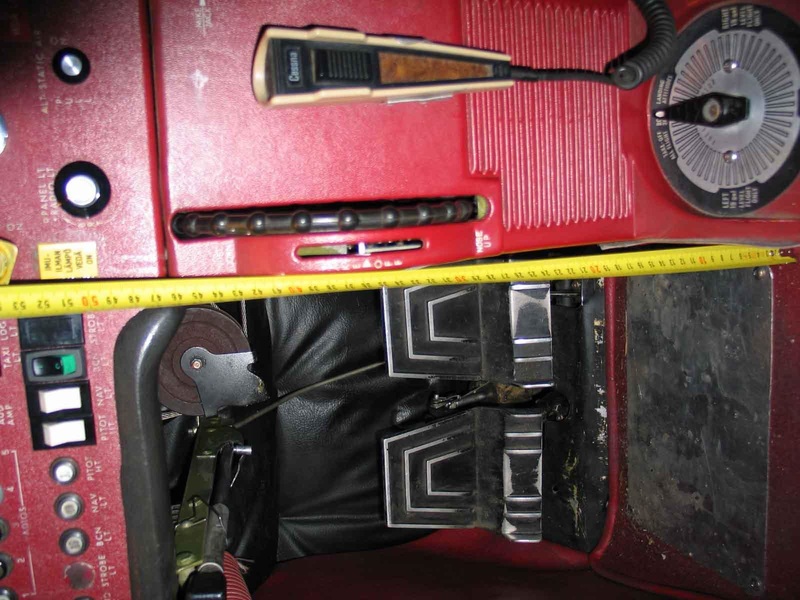
|
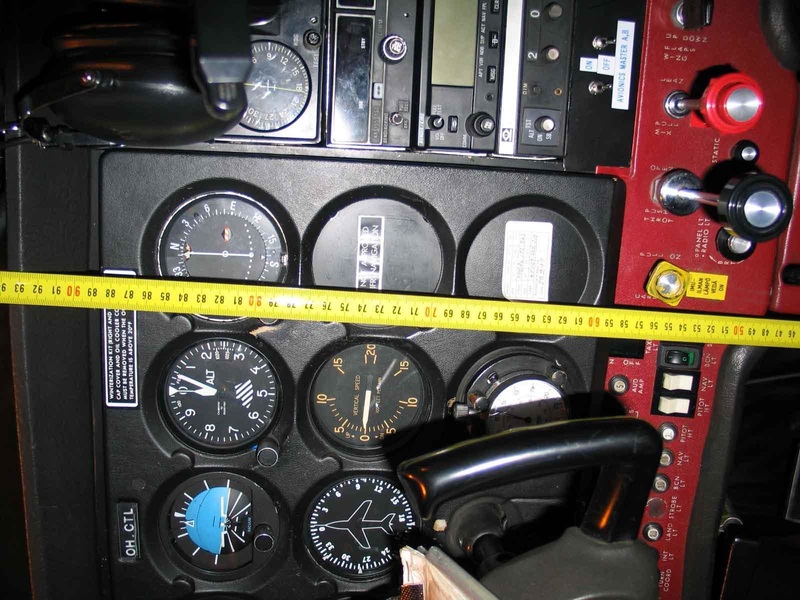
|
The panel
|
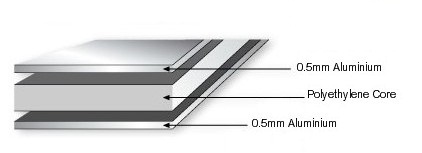
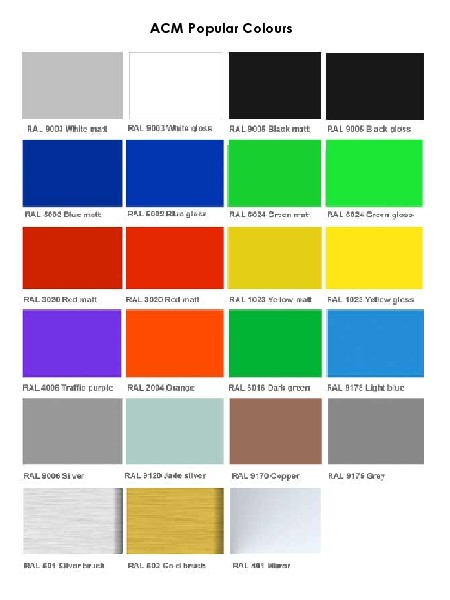
To build the Main panel, Lower panel and the Gelarshield, i choose 4mm Alucobond (you can choose different material). Also commonly referred to as "Diabond" or "ACM", aluminium composite panels consist of two aluminium cover sheets and a core made of low density polyethylene. It is lightweight, weather resitant, unbreakable, shock-resistant, vibration absorbant and easy to install. It is at the same time stable and yet flexible. In addition, aluminium composite panels have a smooth glossy surface and are available in a number of standard colours which can reduce the need to paint the product. |
|
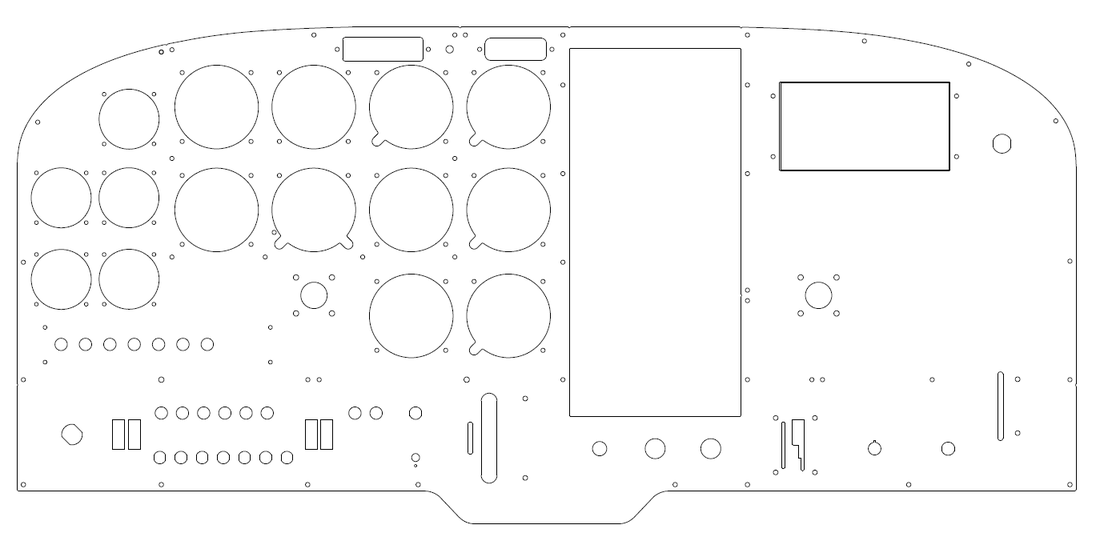
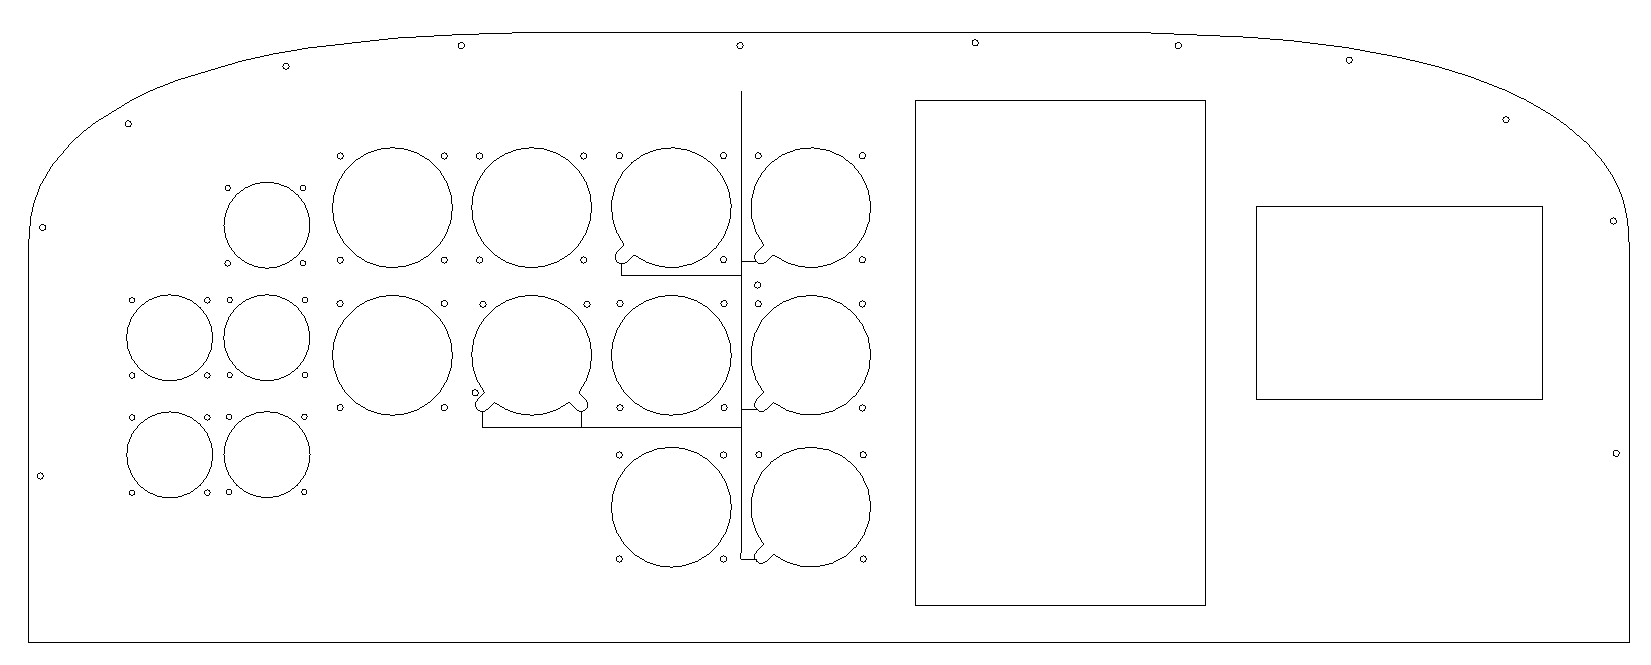
One other reason I went with the ACM was that i have sheets laying around in two colors, the perfect ones for the cockpit. I found a Cessna 172 1:1 Panel drawing on the internet (you can download on the right side the original version) but I had to modify it. I modified the gauges size (made them smaller which helped me later with the bezels) and separated the whole panel in two parts: Main Panel and Lower Panel (for the lower panel i used black alucobond). I also deleted the Radio Stack and GPS panel and will cut them later when i will be ready for them. You can modify the panel the way you like it.The credit of the original drawing goes to the Author which i found on mycockpit.org. |
|
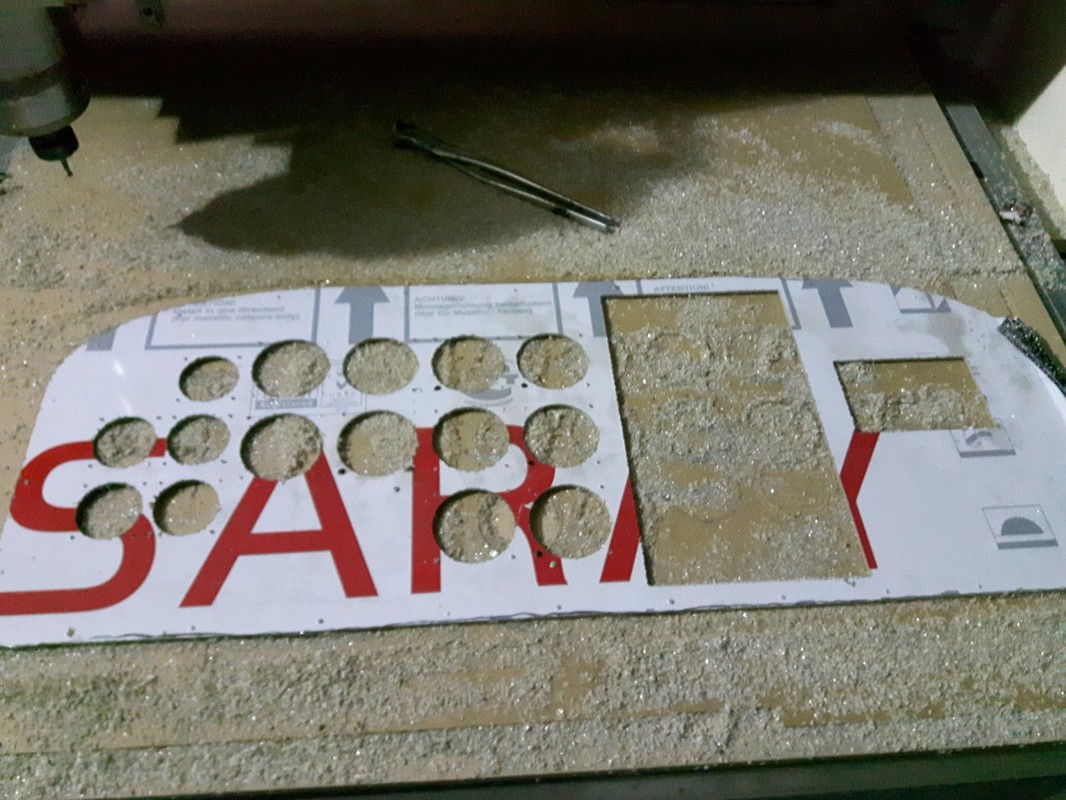
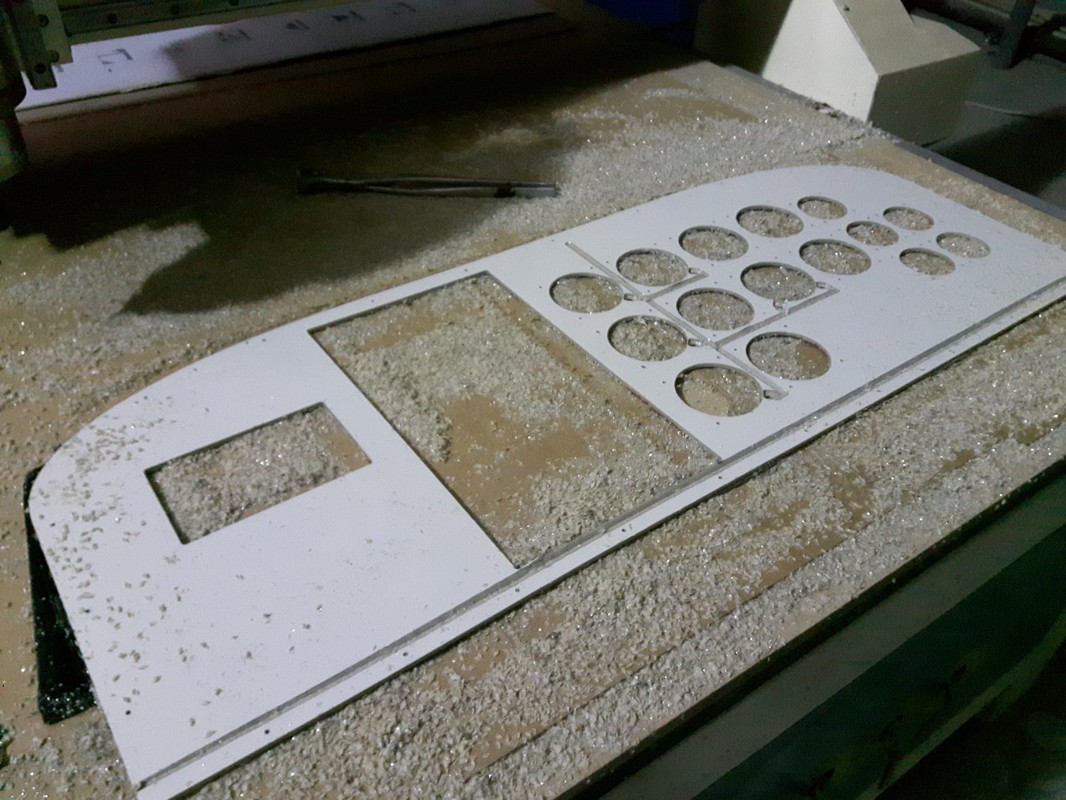
Since i have a CNC, I exported the drawing to ArtCam and made the modifications there. You can do them either in AutoCad or ArtCam. On the left side below you see that I have mirrored the panel, so i could open channels for the rotary encoder wires. As i said i have modified these in artcam so i only have the artcam files if anyone wants to have them, you can find them below. Since you can't open Artcam 2010 files with ArtCam 2017 i have uploaded them both.
|

|
Caution: If you use PDF than you have to print it on an A0 paper or use software to print it in several A4 papers.
|
|
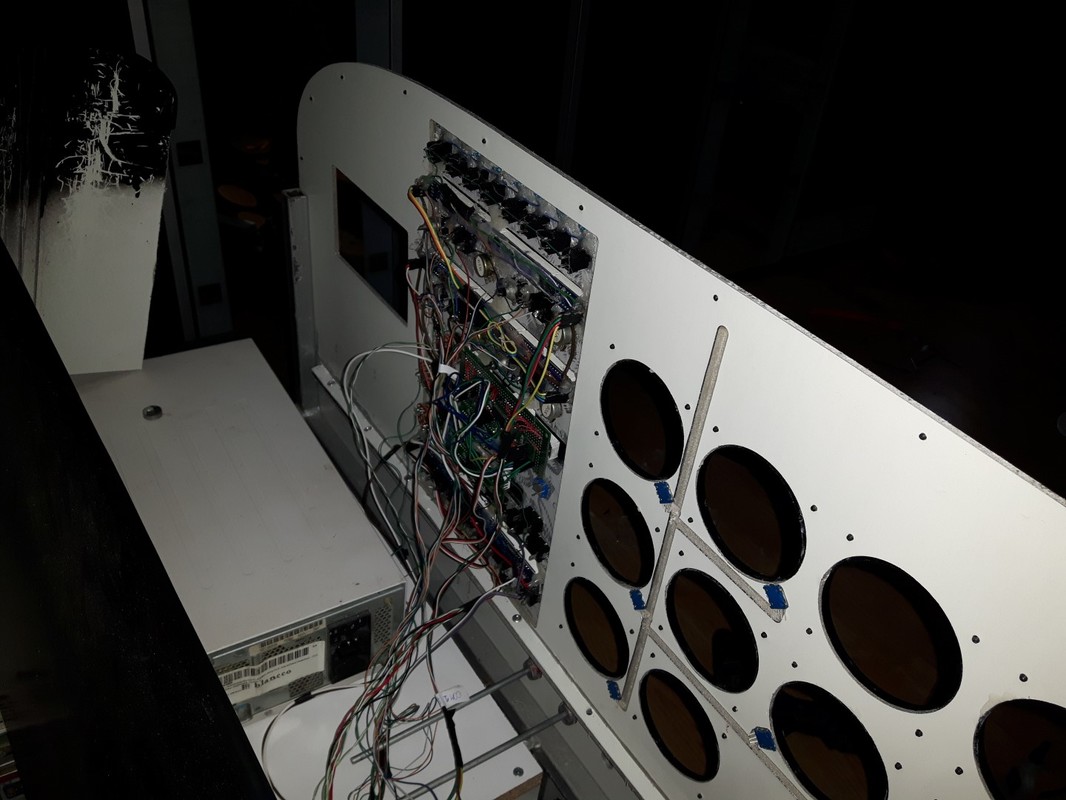
One thing you should keep in mind is that, before building the panel, you need to have the monitor for the gauges. This way you measure the size of it and modify the panel before cutting so the monitor fits inside the panel and you don't have to cut the Glareshield. My gauges screen is 22 inches and i did measure it but didn't want to have it to far to the right because of the radio stack and gps that i will add later so a tiny piece of the monitor is left on the left upper corner of the panel and i had to cut the glareshield. I did this because i was going to cover the glareshield with leather anyway, but i could easily not do that as it looks great even without leather (alucobond looks great). I should have moved the monitor a little bit to the right so i didn't have to cut the glareshield at all but it is already done so you should think about that before starting to cut the gauges.
|
After cutting both panels with CNC, i bent the lower part of the main panel and upper part of the lower panel and connected them together using rivets. I did this for two reasons, to connect them together and to lay the monitor on that edge. The frame as you can see is made of 20x20mm square metal profiles. Aluminium would be even better or even wood can be used as well. Frame dimensions are 100mmx40mm and the height to the botom of the panel is 47mm. |
2015, Copyright AlbEAGLE